Smart Home Setup for Renters Who Move Every Year — No Deposit Risk, No Landlord Drama
Your landlord doesn't need to know you have a smart home.
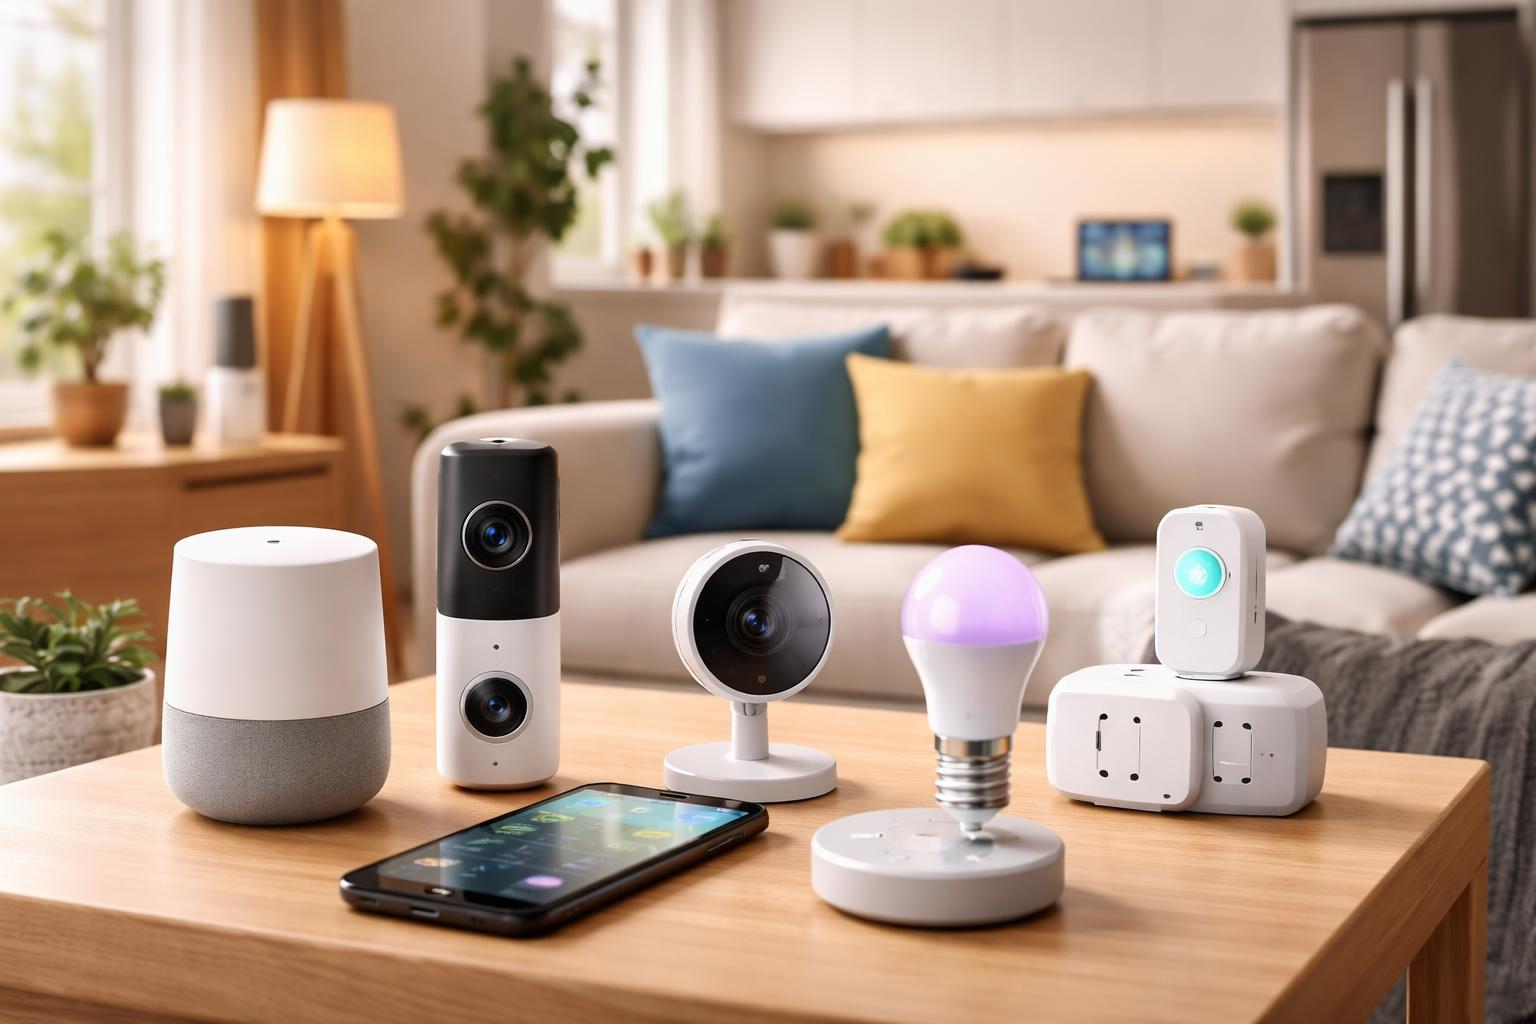
Every device in this guide plugs into a standard outlet, connects to your WiFi, and leaves zero trace when you move out. No drilling. No wiring. No deposit risk. Just unplug, pack, and take your smart home to the next place.
We're not going to list every smart device on the market. This guide is specifically for renters who move frequently, deal with strict landlords, and can't afford to leave expensive gear behind or lose their deposit over a wall anchor.
If that's you — let's build your apartment the right way.
Will Any of This Cost Me My Deposit?
No — if you stick to the devices in this guide.
The golden rule for renter-friendly smart home gear is simple: if it needs a screwdriver for more than 30 seconds, skip it. Everything here either plugs into an outlet, screws into a light socket, or uses the adhesive strips that come in the box — the same strips that peel off cleanly without damaging paint.
Here's what's safe without asking your landlord:
- Smart plugs — plug in, plug out
- Smart bulbs — screw in, screw out
- Smart speakers and displays — just sit on a shelf
- Water leak sensors — sit on the floor under your sink
- Battery-powered cameras — adhesive mount, removes cleanly
Here's what you should ask your landlord about first:
- Smart thermostats — requires removing the existing one
- Smart locks — replaces or modifies your existing lock
- Video doorbells — may require wiring or drilling
When in doubt, photograph everything before you install it and after you remove it. That timestamp is your protection if there's any dispute when you move out.
Build Your Setup Based on How You Live
If you move every 12 months or less
Keep it simple and portable. Every device you buy should fit in one box when you leave. Stick to smart plugs, smart bulbs, and a single smart speaker. Don't invest in a hub — you don't need one. Everything connects directly to WiFi and your phone. Total setup time: under 30 minutes. Total move-out time: under 15 minutes.
If your landlord is strict
Avoid anything with adhesive stronger than 3M Command strips. Battery-powered cameras over wired ones. Smart bulbs over smart switches. And never replace the thermostat without written permission — it's the most common source of deposit disputes in smart home setups.
If you're in a studio
One smart plug, one smart bulb, and a small smart speaker will cover 80% of what automation can do for you. Don't over-invest in a small space. A single Alexa Echo Dot sitting on your desk can control your lights, set routines, play music, and tell you the weather — for under $50.
If you're in a 2-bedroom or larger
This is where a budget smart home ecosystem starts making sense. Start with the living room and bedroom, then expand room by room. Consistency matters — pick one ecosystem (Alexa, Google, or Matter) and stick to it so everything works together when you move.
If your building has shared WiFi
This is a real problem that nobody talks about. Many smart devices won't work on shared or hotel-style WiFi networks. If your building uses this setup, you'll need a travel router like the GL.iNet GL-MT300N to create your own private network. It's small, cheap, and completely portable.
The Renter's Move-Out Smart Home Checklist
Most renters forget about their smart devices until moving day. Don't be that person. Here's exactly what to do:
2 weeks before moving out
- Log into every device app and factory reset each one — this wipes your WiFi password and account from the device before you sell or leave it
- Check all adhesive mounts — if any have been on the wall longer than 6 months, use a hairdryer on low heat to warm the adhesive before peeling. It comes off cleaner.
- Replace any smart bulbs you're taking with regular bulbs — landlords notice missing bulbs
Moving day
- Photograph every outlet, light socket, and surface after you've removed your devices
- Check behind furniture for any sensors or plugs you forgot — water leak sensors under sinks are the most commonly left behind
- Take your original bulbs with you — the ones that were there when you moved in
After you move in somewhere new
- Change the WiFi password on every device before connecting to your new network — you don't want your old network credentials sitting in 6 devices
- Test each device before assuming it works — travel and handling can reset or damage them
- Start with your router or travel router first, then connect devices one by one
Frequently Asked Questions
Do I need a smart home hub?
No. Every device in this guide connects directly to your WiFi. A smart speaker like the Echo Dot can act as a voice control center, but it's optional — not required.
Can I take everything with me when I move?
Yes — that's the whole point. Everything here unplugs, unscrews, or peels off. Your entire smart home fits in one box.
Will smart devices actually lower my electricity bill?
Smart bulbs use less energy than regular bulbs, and smart plugs eliminate standby power drain from appliances. It won't cut your bill in half, but you'll notice a difference over 6-12 months.
What if my building has shared WiFi?
Most smart devices won't work on shared or hotel-style networks. Get a GL.iNet travel router — it creates your own private network from the shared connection. Under $30 and completely portable.
Is my data safe?
Stick to major brands — Amazon, Google, TP-Link, Govee. Use a strong WiFi password and enable two-factor authentication on your device apps. Avoid no-name brands with no app reviews.