Disclosure: This article contains affiliate links. As an Amazon Associate, we earn from qualifying purchases at no extra cost to you.
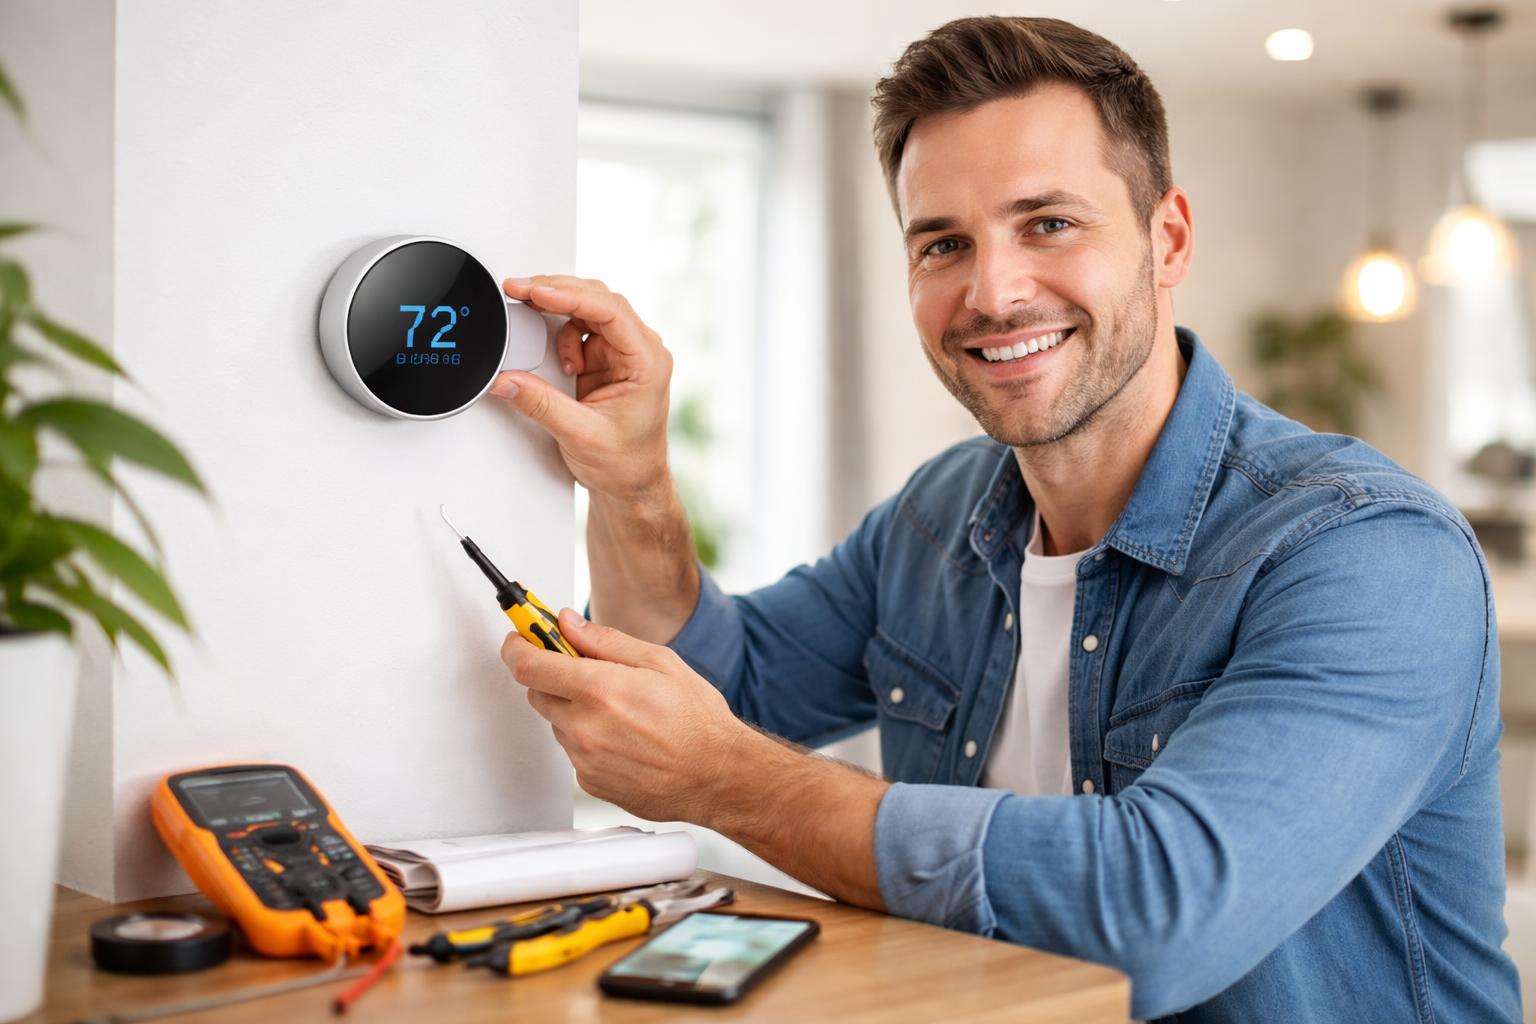
Yes, you absolutely can install a smart thermostat yourself, even if you have no prior electrical experience! Modern smart thermostats are designed with user-friendly instructions and support tools that make the DIY process simple, allowing you to upgrade your home, save on energy bills, and enjoy ultimate comfort control without the need for a professional electrician. This guide will walk you through every step, ensuring a smooth transition to a smarter, more efficient home climate.
Smart home automation is no longer a futuristic concept; it’s a present-day reality offering unparalleled convenience and significant energy savings. One of the most impactful smart devices you can add to your home is a smart thermostat. Beyond simply adjusting the temperature, these intelligent devices learn your habits, respond to your commands, and help optimize your home’s heating and cooling for maximum efficiency. While the idea of tackling an electrical installation might seem daunting, rest assured that installing a smart thermostat is a common DIY project that most homeowners can accomplish in under an hour with the right guidance.
Why Upgrade to a Smart Thermostat?
The allure of a smart thermostat extends far beyond just setting a schedule. These sophisticated devices bring a host of benefits that traditional programmable thermostats simply can’t match, making them a worthwhile investment for any homeowner looking to enhance comfort and cut down on utility expenses.
-
Energy Savings: Smart thermostats are engineered to optimize your heating and cooling usage. Many models feature learning capabilities, observing your preferences over time and automatically creating an efficient schedule tailored to your lifestyle. Features like geofencing detect when you leave or approach home, adjusting the temperature accordingly.
-
Convenience: Imagine being able to adjust your home’s temperature from your smartphone, whether you’re on the couch, at work, or on vacation. Many smart thermostats also offer voice control integration with popular smart home assistants.
-
Energy Consumption Insights: Companion apps often provide detailed reports on how much energy you’re using, allowing you to identify trends and further refine your settings for even greater efficiency.
Before You Begin: Essential Pre-Installation Checks
Preparation is key to a smooth smart thermostat installation. Taking a few minutes to complete these checks will save you time and potential headaches down the line.
Compatibility Check
The most crucial step is to ensure compatibility with your existing HVAC system.
-
HVAC System Type: Most smart thermostats are compatible with conventional (forced air, gas, electric), heat pump systems, and even multi-stage systems.
-
Wiring – The C-Wire (Common Wire): This provides a continuous power supply to the smart thermostat.
-
Check your current thermostat: Remove its cover and look for a wire connected to a terminal labeled “C.”
-
No C-wire? Many smart thermostats, like the Ecobee SmartThermostat Enhanced, include a Power Extender Kit (PEK). This device is installed at your furnace to provide power without a dedicated C-wire.
-
-
Alternatives: Some systems use battery power or a repurposed G-wire, though these may have limitations. If you’re unsure, consult a professional.
Gather Your Tools
-
Screwdrivers (Philips head and flathead)
-
Wire Strippers (optional)
-
Drill and Pencil (for mounting)
-
Level and Camera (your phone’s camera is crucial for documenting wiring)
-
Headlamp or Flashlight
Choose the Right Smart Thermostat for You
The market offers several excellent options, each with unique features:
-
The Google Nest Learning Thermostat is renowned for its elegant design and intuitive learning capabilities. It observes your temperature preferences and builds a schedule over time.
-
The Ecobee SmartThermostat Enhanced is a strong contender for those seeking granular control. It comes with a remote sensor to monitor temperature and occupancy in different rooms.
-
The Honeywell Home T9 Smart Thermostat includes smart room sensors to help manage comfort across your home and is praised for its simple app interface.
Step-by-Step Smart Thermostat Installation Guide
Step 1: Safety First – Turn Off Power
Go to your circuit breaker panel and locate the breaker for your furnace or HVAC system. Flip it to the “Off” position. Verify the power is off by checking that your old thermostat’s display is blank or unresponsive.
Step 2: Remove Your Old Thermostat
-
Take a picture! Before touching any wires, take a clear photo of how your existing wires are connected to the terminals.
-
Gently pull the display off the base plate and disconnect each wire.
-
Label the wires: Use adhesive labels or tape to mark each wire according to its terminal (e.g., R, W, Y, G, C).
-
Remove the old mounting plate from the wall.
Step 3: Install the New Base Plate
Thread the wires through the center opening of your new backplate. Use a level to ensure it’s straight, mark the screw holes with a pencil, and secure the backplate to the wall.
Step 4: Connect the Wires
Using your photo and labels, connect each wire to the corresponding terminal on the new base plate. Give each wire a gentle tug to confirm it’s secure.
-
Dual Wires: If you have two wires for a single terminal (like two R wires), consult your manual. Some thermostats use separate R and Rc terminals.
Step 5: Mount the Smart Thermostat Display
Align the display unit with the base plate and push it into place until it clicks or snaps securely.
Step 6: Power On and Initial Setup
Flip the breaker back to the “On” position. Follow the on-screen prompts on the thermostat to connect to Wi-Fi and configure your system. Download the companion app (Nest, Ecobee, or Honeywell Home) to complete the registration and test your heating and cooling.
Post-Installation Tips for Maximizing Energy Savings
-
Set up Smart Schedules: Program an initial schedule for when you’re home, away, or asleep.
-
Utilize Geofencing: Use your phone’s location to automatically adjust temperatures when you leave the house.
-
Integrate with Other Devices: Link your thermostat with smart speakers for voice control. For a full guide, check out our Smart Home Automation for Beginners: A Complete Checklist for 2026.
-
Use Remote Sensors: Place sensors in commonly used rooms to ensure consistent comfort throughout your living space.
Smart Thermostat Comparison Table
| Feature | Google Nest Learning Thermostat | Ecobee SmartThermostat Enhanced | Honeywell Home T9 Smart Thermostat |
| Learning Capabilities | Yes, automatic | Manual with smart features | Manual with adaptable features |
| Remote Sensors | Available as add-on | One sensor included | One sensor included |
| Geofencing | Yes | Yes | Yes |
| Voice Support | Google, Alexa | Alexa, Google, HomeKit | Alexa, Google |
| C-Wire Requirement | Recommended | Required (PEK included) | Required (Adapter included) |
Frequently Asked Questions (FAQ)
Can I really install a smart thermostat myself if I’m not handy?
Yes! They are designed for DIY. The most important steps are turning off the power and taking a clear photo of the old wiring.
What if I don’t have a C-wire?
Many thermostats include a Power Extender Kit (PEK) or C-wire adapter that allows them to function by re-purposing another wire at your furnace.
How long does the installation take?
Typically 30-60 minutes.
What’s the difference between a learning thermostat and a programmable one?
A programmable thermostat uses a fixed schedule you set. A learning thermostat, like the Google Nest, observes your habits and creates a schedule automatically.
Conclusion
Installing a smart thermostat is an accessible DIY project that empowers you to take control of your home’s energy consumption. By following this guide, you can enjoy significant savings and unparalleled convenience.